
Desert Fox, Acrylic on canvas, 5″ x 5″ ©lizamyers
I recently had an unfortunate incident with a painting I was mailing to a collector.
The painting is 5″ x 5″ so it didn’t seem to present much of a problem. I’ve mailed large paintings across the country and they’ve arrived perfectly well.
I carefully wrapped the painting in glassine paper. (Glassine is a special paper with many uses, among them the protection of drawings and prints. It’s particularly recommended for acrylics.) The glassine-wrapped painting was then wrapped again in bubble wrap, and subsequently boxed. Sounds good doesn’t it? Tidy and secure.
Unfortunately when the painting arrived the glassine had adhered to the surface of the acrylic. So, of course, the little fox came back to Santa Fe to see if I could fix it.
A lot of traveling for a small fox!
Fortunately I was able to briefly soak the surface of the painting in cool water and remove the paper entirely. Unfortunately the paper had marred the surface of the image, leaving an unsightly texture. Not good! I was able to fix the surface using several layers of mediums to restore the transparency and smooth texture.
But what to do about shipping? I called the friendly, knowledgeable tech consultant at Golden Paints. She suggested the following system for small paintings. 
1) Build a specially sized box for your small painting. Measure the painting. This one is 5″ x 5″ with a 1.5″ stretcher.
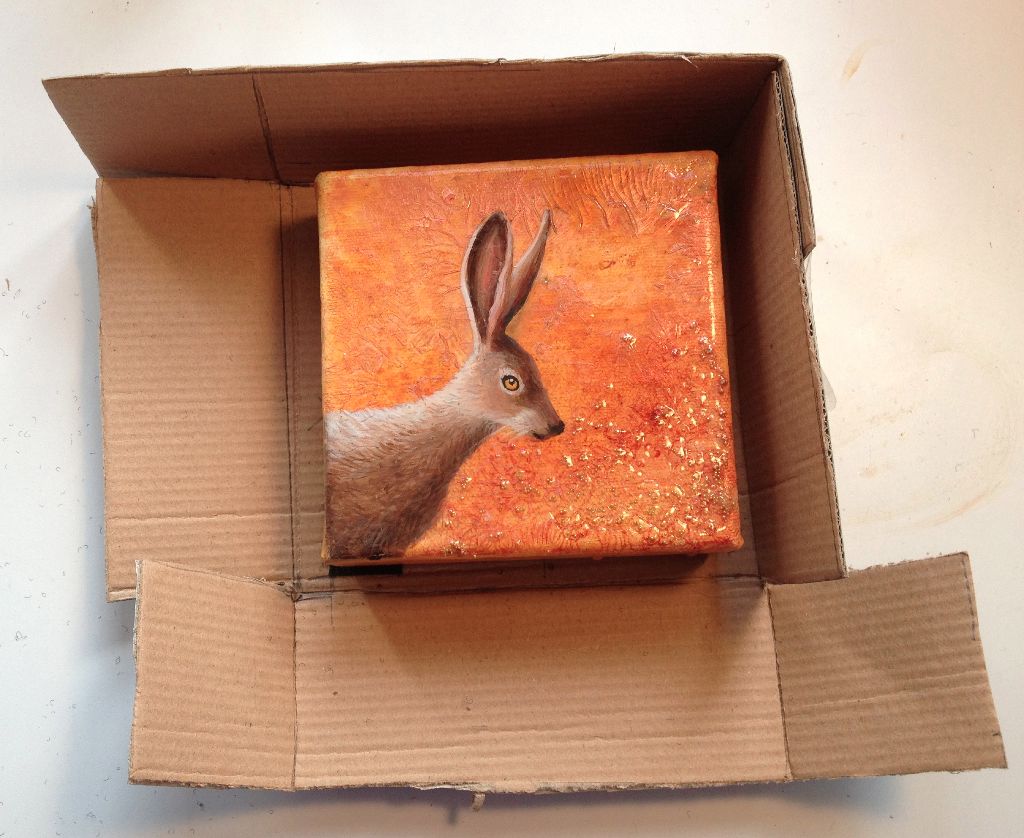
Rabbit 5″ x 5″ acrylic on canvas ©lizamyers
2) Make sure that when the box is constructed the top edge will be a full 1″ above the surface of the painting.

Attach the velcro to the box, and to the back of the small painting.
2) Attach velcro to the inside bottom of the box, AND to the back of the stretcher bars of the painting.
3) The velcro that I used has adhesive on it. I did use the adhesive to attach the velcro to the cardboard, but NOT to attach the velcro to the stretcher bars. For that I used one staple. Not a heavy duty staple, just a simple desktop staple. The smaller staple will allow the velcro to be easily removed from the stretcher bar.
4) Attach the painting to the box and tape up the sides. (I will also add a foam core lid to the box.)

Jack Rabbit with Petroglyph
Acrylic on canvas
©lizamyers
$145

Nest with Ribbon
acrylic on canvas
©lizamyers
$145

Andean Whiskered
Pygmy Owl
acrylic on canvas
©lizamyers $145
The owl, nest and jackrabbit are available! Email me if you are interested.
5) Double box the painting in a mailing container.
6) Head to the post office! WHEW! A job well done.
Have you had problems with packaging and mailing your paintings?
Great post, Thank you for sharing this! A large, unknown part of our journey as artists is adapting to the unexpected in our our work. Constant, creative problem solving is probably one of the best assets of our profession.
Great post Liza, very helpful… and those paintings are small treasures, truly!
Great post Liza, very helpful… and those paintings are small treasures, truly!